OIDC integration with Kaseya Passly
Topic
This article discusses OIDC integration with Kaseya Passly for use with Datto Secure Edge.
Environment
- Datto Secure Edge
- Kaseya Passly
Description
This process requires you to switch repeatedly between Kaseya Passly and the Datto Network Manager UI. We recommend keeping both pages open in separate browser windows.
Register Secure Edge with Passly
Starting in Passly
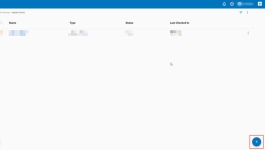
1. Select Auth Manager→ Agents/Clients from the menu
2. Click Add New Agent in the bottom-right corner of the page
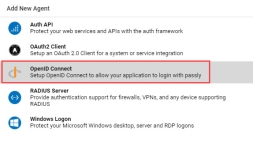
3. Select OpenID Connect.
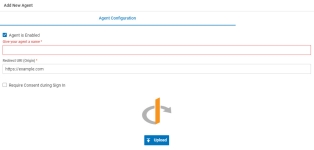
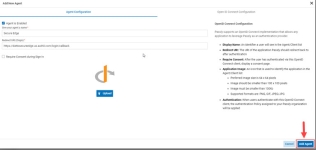
4. Enter Secure Edge in the field Give your agent a name.
Open Datto Secure Edge
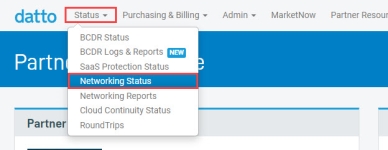
5. log into the Datto Partner Portal and select Status→ Networking Status and select your network.
6. In the Datto Network Manager, select the Manage option from the Navigation menu then select Secure Edge→ Service Settings .
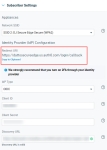
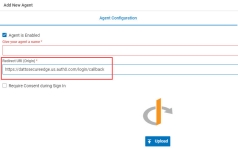
7. Select Cloud Gateway, then scroll down and select Subscriber Settings and copy the Redirect URI link.
Return to Passly with the Redirect URI
8. Paste the copied text under Redirect URI (Origin).
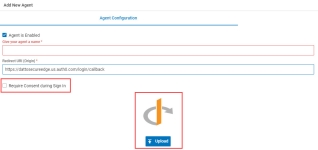
9. You can upload a new image to use for the Application Image and choose to Require Consent during Sign In, as well. Further information on these features will be provided on this screen, as well.
10. When finished, select Add Agent.
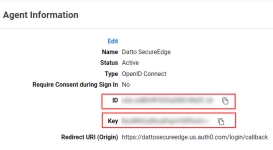
11. You will be returned to the Agents/Clients list where you can now select the Secure Edge client you just created and view the Agent Information.
12. The Agent Information includes the Key and ID needed for Secure Edge.
Back to Secure Edge
13. Add the ID under Client ID and the Key under Client Secret in Subscriber Settings.
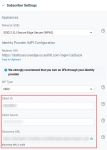
Figure 13: Subscriber settings
14. The Discovery URL is https://datto.my.passly.com/.well-known/openid-configuration
15. After the Subscriber Settings are completed, click Save Changes from the top-right of the page.

